Aperture is actually more of a lens setting than a camera setting. The term aperture refers to how wide or narrow the opening in the lens is. A wide aperture will let in lots of light, creating a brighter image. A narrow aperture won’t let in much light, resulting in a darker image. Think of aperture like opening and closing a curtain to let more or less light into a room, only the “room” is a photograph.
A lens’ aperture blades create a hole that light passes through to reach the camera. These aperture blades can widen to let in more light, or narrow to let in less light. By changing your aperture, you can control how much light enters the camera sensor from your lens. This control allows photographers to brighten or darken an image.
The size of the aperture opening is calibrated in “stops” of light – also known as f-stops. This numerical value also describes the ratio of a lens’ focal length (the “f”) to the diameter of the opening. A lower f-number, such as f/1.8, is a wider opening that lets in more light. A higher f-number, such as f/8, is a narrower opening that lets in less light.
Each successive stop is half as bright as its predecessor. That means that an f/2 is half as bright as f/1.4, f/2.8 is half as bright as f/2, and so on. But, if that sounds confusing, the most important thing to remember about aperture is thata low f-number creates a brighter image, while a high f-number creates a darker image.
Okay, so if a wide aperture lets in the most light, photographers only need to touch the aperture setting when a photo is too dark or too bright, right? Not exactly, because the aperture also controlsdepth of field, or how much of the image is in focus.
Think of a professional portrait. Often, these portraits have a very blurry background. This blurry background is controlled by the aperture.
A wider aperture (which is a lower f-number) creates more background blur. An f/1.8 aperture setting, then, will both let in more light and create more background blur! This extreme background blur is called a shallow depth of field.
That background blur is often considered a good thing, after all, even the iPhone tries to imitate it with portrait mode. But more background blur means less sharpness. For example, if you take a portrait photo at f/1.2, one eye may be in focus while the other one is soft.
Using a narrower aperture (which is a higher f-number) will leave more of the image sharply focused. If you take a photo and it’s not very sharp, an aperture that’s too wide could be the culprit (the other common culprit isthe wrong autofocus setting). Using an aperture of f/8 or f/11 will leave more objects in the photo in focus, which is called a deep depth of field.
Download this cheat sheet as a handy reference to aperture and depth of field that you can take on the go
Let’s put that concept into practice. If you are taking a group photo of your family, an f/1.8 aperture is going to make the people in the second row blurry. If you narrow the aperture to f/8, you can get both the front and second row perfectly focused.
In short, a wider aperture lets in more lightand adds more blur. A narrower aperture limits the light coming into the lensbut leaves more of the image sharply focused.
Aperture is one of the three fundamental pillars ofthe exposure triangle, (the other two beingshutter speedandISO). Learning all three allows a photographer to have full control over the photograph to capture acorrect exposure. But, it’s perfectly fine to take baby steps and learn aperture before moving on to the other two exposure elements, thanks to a setting called aperture priority mode.
>>>NB-5H Battery for Canon Powershot A5 Zoom/A50/S10/S20
How do you adjust the aperture on a camera or a lens?
Turn the camera’s top dial to the A to control aperture
Once you understand the basics of how aperture works, it’s time to put it into practice. The first step is toget your camera off of auto mode.
Instead of the green camera icon or auto mode, turn the mode dial on the camera to A (or Av, if you have aCanoncamera). Most cameras will have that mode dial but some do not, so if you can’t find the setting, consult your camera manual. If you are working with a budget compact camera, your camera may not even have aperture priority mode at all, but DSLRs and mirrorless cameras have this setting, along with high-end compact cameras.
Whataperture priority modedoes is allow the photographer to control the aperture while leaving the other settings on automatic. That means you can control aperture before you learn about shutter speed and ISO. Aperture priority mode is a great learning tool, but I even use it often as a professional photographer at times because it is quick and simple.
Once your camera is in aperture priority mode, you’ll adjust the aperture itself. Most cameras do this in one of two ways. The first is on a control dial directly on the camera, often near the shutter release, or the button that takes the picture. The second common location of the aperture setting is on the lens itself. This looks like a ring around the lens, which is often (but not always) labeled with those f-numbers. Because the method to change the aperture depends on what camera and even lens you are using, if you aren’t sure, consult your camera manual.
This is an aperture ring on a camera lens (Image credit: Future)
Next, use the control dial or lens ring and watch the f-numbers on your camera’s screen or viewfinder change. Learn by experimenting. Try taking a photo at a low aperture, then another at a high aperture and compare the differences between the two photos.
Once you are comfortable with aperture, dive into the two other settings that are essential to exposure:shutter speedandISO.
How does aperture come into play when buying a camera lens?
(Image credit: Chris George)
An aperture itself (the opening) is formed by intersecting blades. Different lenses have a different number of blades, and these can move to make the opening larger or smaller depending on the f-stop that you select.
The aperture assembly is located in the barrel of the lens, between the lens elements. A motor opens and closes the aperture as you adjust the aperture setting.
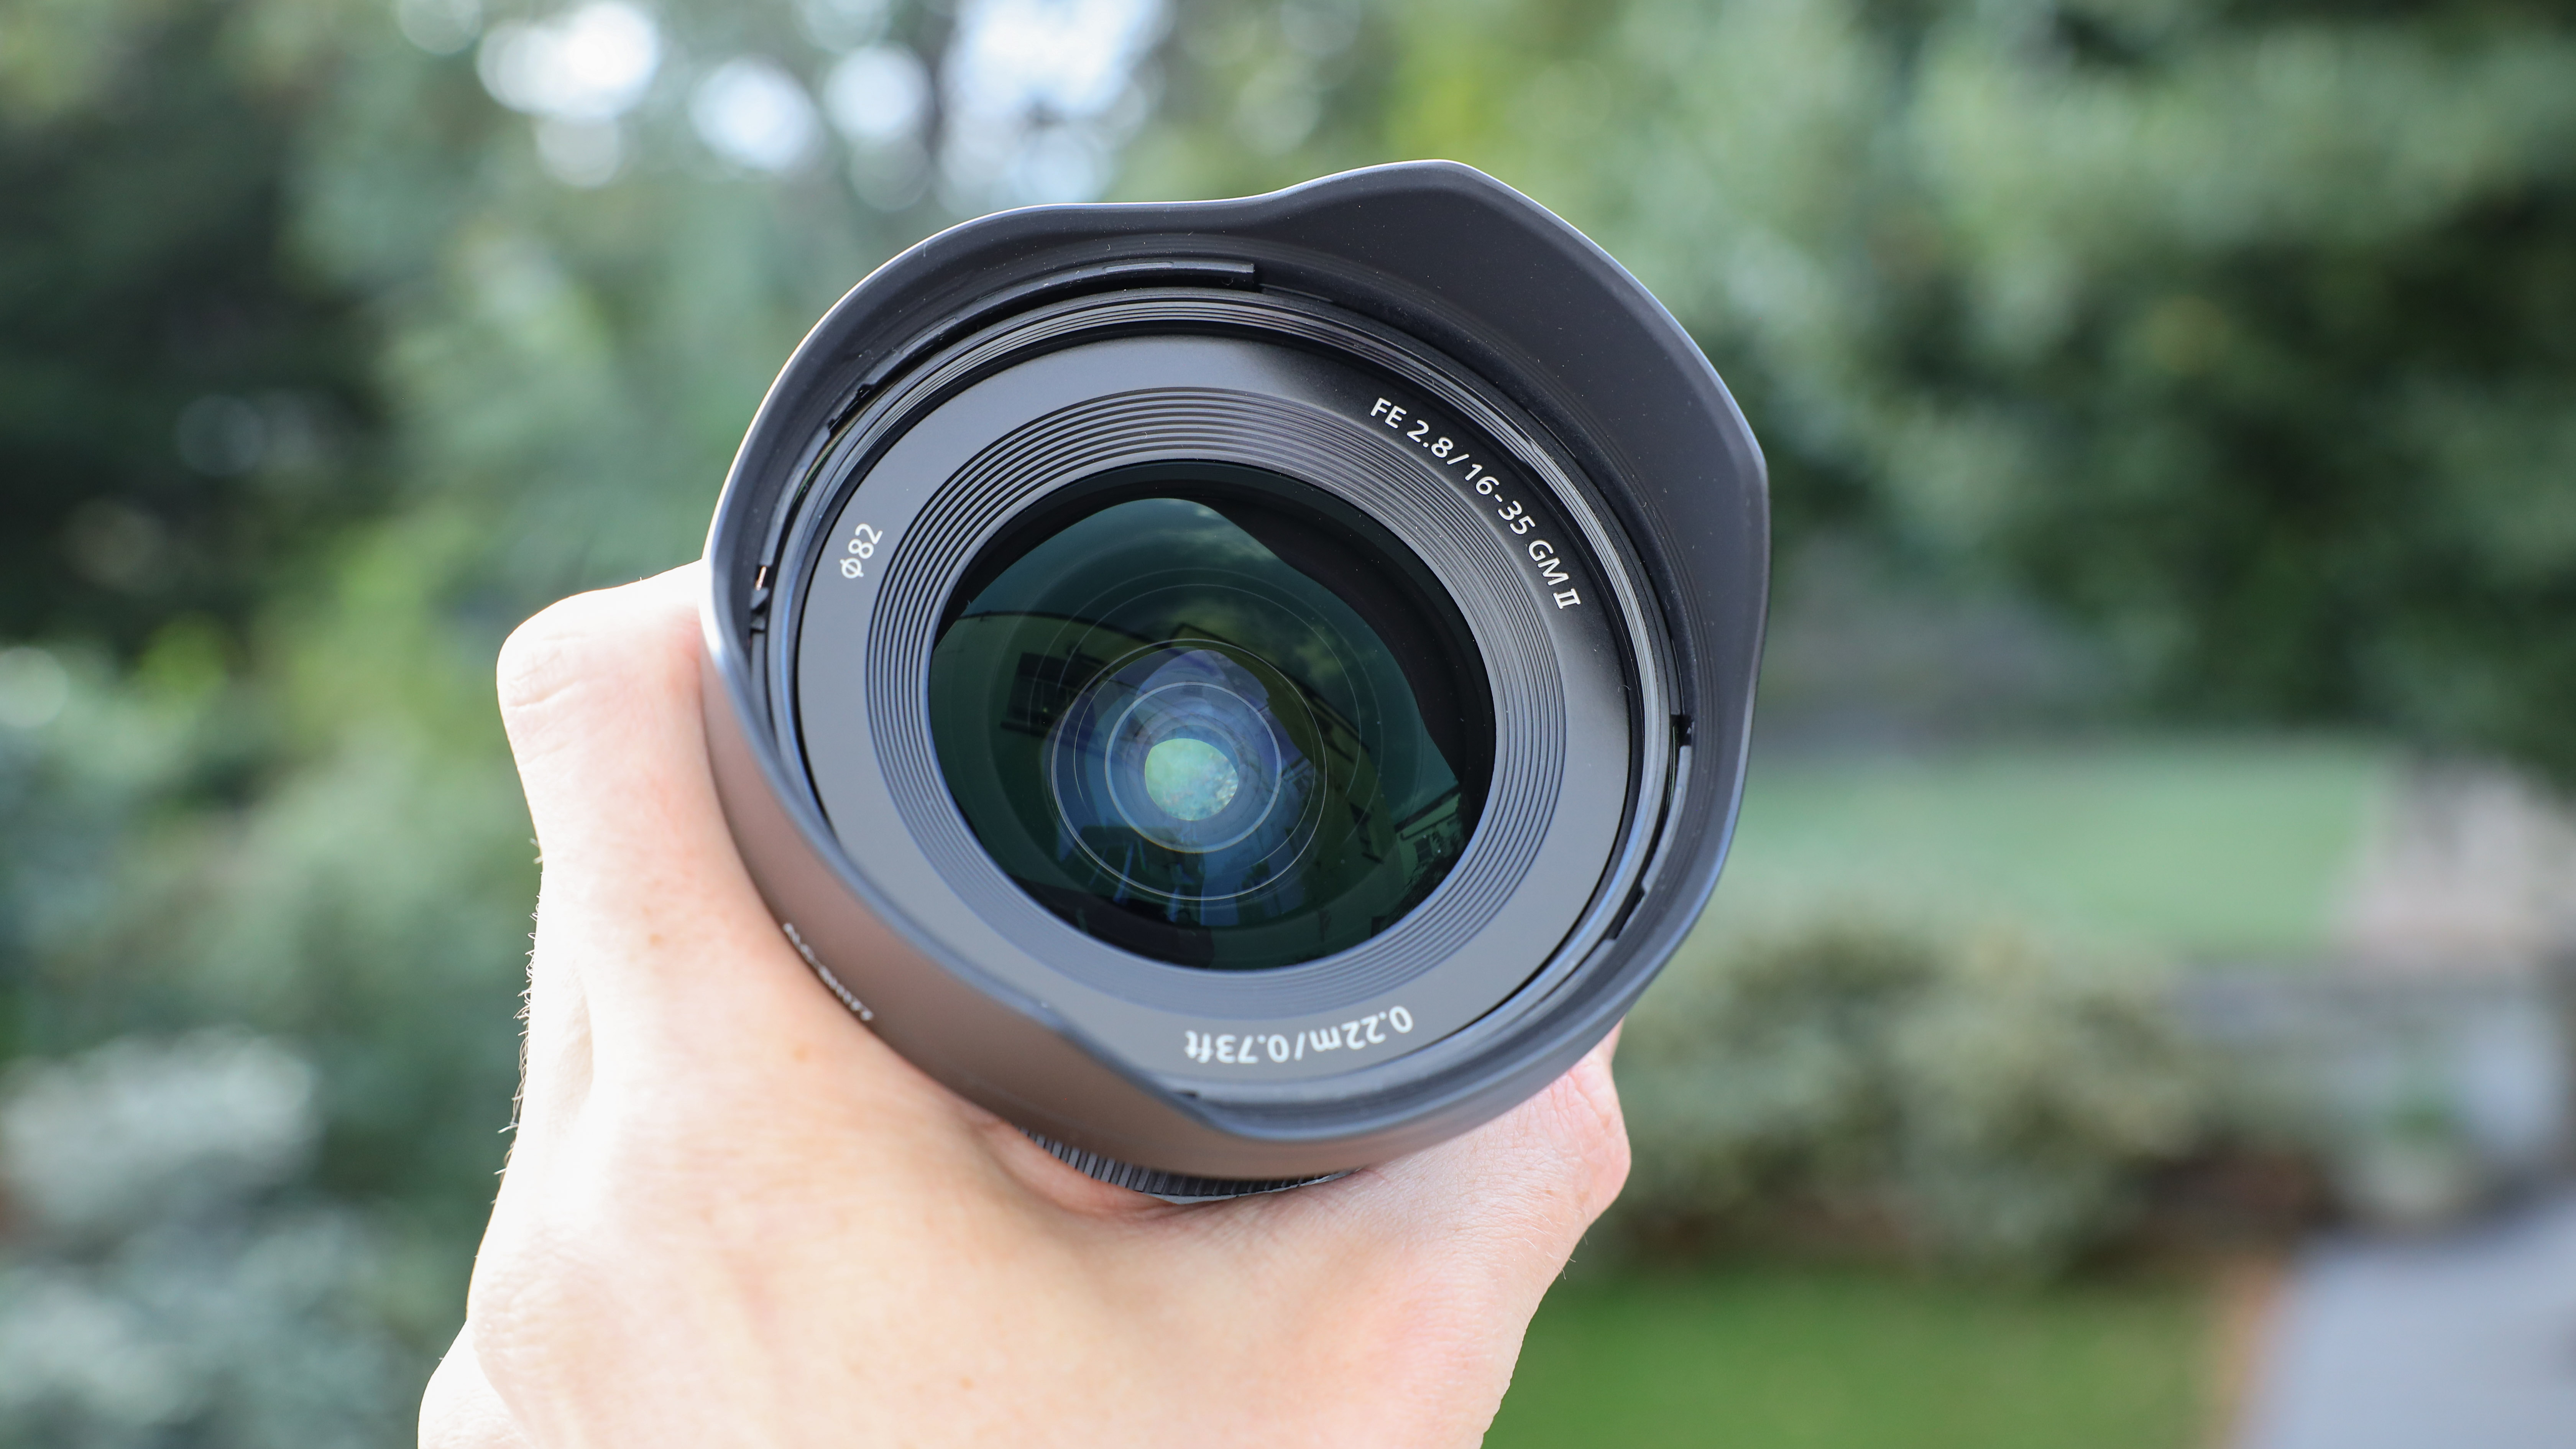
The different aperture settings that you have to choose from will depend on the lens that you have. Camera lenses have a maximum aperture setting, or the brightest, widest opening possible. This varies from lens to lens.
If you have a mirrorless camera or DSLR and a basic kit lens that came bundled with the camera, you may have a lens that goes as wide as f/4 or f/5.6. More advanced lenses will have brighter apertures. A prime lens, which is a lens that doesn’t zoom, can have a wide f/1.8 or even an f/1.2 aperture. Lenses that have zoom will often have a narrower maximum aperture, like f/2.8 or f/4.
That means that, if you have more than one lens, one might have a wider aperture than the other. Photographers often refer to this as a “brighter” lens. Now that you know what aperture is, you should keep that in mind whenever you shop for a new camera lens. The maximum aperture is listed right in the lens name. For example, a lens with “f/1.2” in the name is going to be brighter than a lens with “f/4” in the name.
Aperture explained at a glance
Aperture is calibrated in f-stops.
A wide aperture opening creates a brighter image with more background blur.
A narrower aperture opening creates a darker image, but with more objects sharply focused.
An aperture of f/22 is narrower than f/4.
Your maximum or widest aperture is determined by your lens.